How To Add A Contact Page to Your Shopify Store

The Contact Page - Such a simple concept with such vital importance! We’ve all been there; shopping online, absolutely loving the products...but it’s taking forever to simply find an email, phone number or contact form so you can ask a question about shipping, sizing or just want more info on the brand! A website’s contact page is the best way to ensure your customers can engage with you and get the information they need. The primary function of a contact page is keeping your customers interested and most importantly, loyal to your brand.
Having a user-friendly contact page can kill two birds with one stone - How so? It improves customer satisfaction and can improve your products. Your contact page allows your customers to not only reach out for more information and get their questions answered, but it also gives your customers an opportunity to share feedback, thoughts, suggestions or recommendations. In turn, you can get an analysis of your website to better understand how your audience views it, while keeping your customers happy too. Everyone loves for their voice to be heard!

Like with all SheCom Tutorials, we like to provide you with what you should expect so you can help budget your time and money in the best way possible. You should expect to spend the following resources completing this tutorial:
TIME:
Putting together a clear and concise contact page should take anywhere up to one hour, to create and test your contact page.
MONEY:
All Shopify themes have a built-in contact form that you can apply to the pages you create.
 Here are a few things to keep in mind when creating your Contact Page through Shopify. The ultimate Contact Page should be five things:
- Functional - The contact page needs to work seamlessly so it’s simple for customers to navigate. Any button or link must be double-checked before you let it appear before visitors.
- Aesthetically Pleasing - Match the design to the rest of your website. If a user likes your website thanks to a chic design, the Contact Page will just solidify how cool your brand is.
- Well-Written - Sweet and simple is the key here. Consider starting with a short but catchy intro - anything that can put users in a good mood and win them over!
- Personal - The Contact page doesn’t have to follow the standard way with multiple boxes and empty fields to fill. You will gain more loyal customers if your Contact Page has a personalized touch.
- Responsive - When customers reach out via your Contact Page, it’s important to make them feel valued and let them know their business is important to you. Make it a best practice to get back to customers within 24 hours, and even mention this on your page if you’d like.
How to Create a Contact Page
Now that you really understand the value of this page and have some ideas already popping around in your head, let’s dive right into the “how to” and get started! There are five simple steps to creating your Contact Page on Shopify.
Note: If you create a page without any content, only the contact form will appear on the page. If you add content to your page, then that content will be displayed above the contact form. You can include a little intro, info on how customers can reach you (such as by phone, email or address) or you can let customers know when to expect a reply.
Step 1:
From your Shopify admin, go to Online Store > Pages and click "add page"
Step 2:
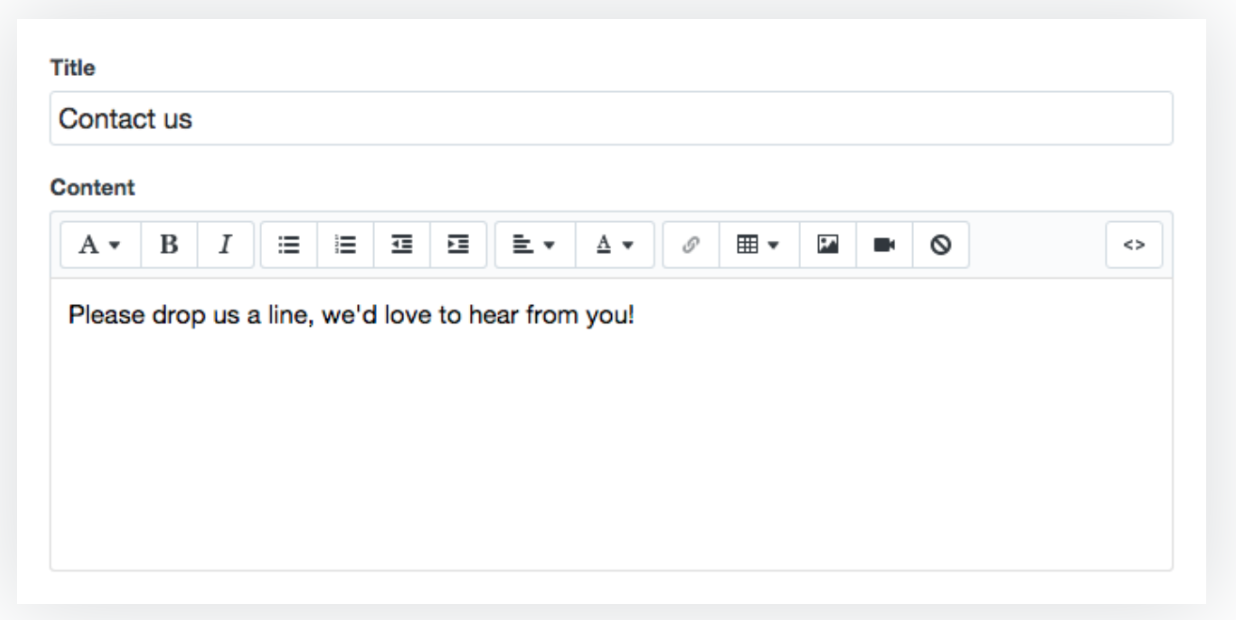
In the Title box, create a title for your contact page, such as Contact Us or Get in Touch.
Step 3:
In the Content box, type any text that you want to appear above the contact form. (You can leave this section blank, but it is good to have a little intro!) You can even format this text to look how you want so that it blends well with your site design.
Step 4:
In the Template section, choose page.contact from the Template suffix drop-down menu (example below) and then click Save.

Step 5:
Your contact form should now be visible on your Contact page. If it’s not at first, you may need to add your contact page to your navigation menu to make it visible on your store. Now you’re all set!
Your Questions Answered
- Now that your Contact Page is good to go...how do you see what your customers have to say? Your contact form sends all submissions to the Customer email address of your store (which should be your email). You can change the customer email address in the General settings of your Shopify admin. If you want to get even more custom and use another email address or format your emails differently, you can use a free online service like Wufoo or Jotform to create a custom contact form to embed on your contact page. Note: You cannot change the subject line for emails sent through the contact form on a Shopify store.
- What if I get a lot of spam with my contact form? Shopify sends all contact form submissions, including those marked as spam, to ensure you don't miss any legitimate messages that could be accidentally flagged as spam. However, if Shopify decides that the submission is spam, the subject of the email will be prefixed with [SPAM] to let you know. Note: You can create an email filter to set aside those emails that are labeled as spam, but be sure that they are not labeling legitimate contact form submissions as spam or you might miss out on a customer!
This tutorial is from our SheCom Guide to Shopify Success: 5 Mistakes You May Be Making on Your Shopify Site.

Want to step up your website even further? Grab our Expert Guide and polish your online store to perfection:

FREE DOWNLOAD
The SheCommerce Handbook for:
Keywords & Hashtags


Recent Posts


